Column · @getcctvcadinsight
How CCTV CAD Tools Are Changing the Way We Design Security Systems
When I first started designing security systems, the process was almost entirely manual. I would walk a site with a clipboard, sketch camera positions on a printed floor plan, and then try to explain coverage gaps to a client using nothing but hand-drawn arrows and notes. It worked, but it was slow. And if the client wanted a revision, I had to redraw everything from scratch. That is why the shift toward using a dedicated design tool, especially one that incorporates cctv cad capabilities, has been such a practical leap forward for the industry.
I have been in this field for over a decade, and I can tell you that the difference between a good security installation and a mediocre one often comes down to planning. You can have the best IP camera on the market, but if you place it at the wrong angle or choose the wrong lens focal length, you end up with blind spots. That is where a proper design approach, supported by something like a cctv cad system, really proves its worth. It lets you test camera placement, field of view, and coverage area before you even order a single cable run.
Why Planning Matters More Than You Think
I have seen too many projects where someone buys a dozen cameras, mounts them wherever looks reasonable, and then discovers that half the parking lot is invisible at night. Night vision performance depends heavily on the camera's resolution, the lens focal length, and the available light. An analogue camera with a fixed lens might cover a corridor adequately, but the same camera placed at a warehouse entrance could be useless. A design tool that models these variables helps you avoid expensive mistakes.
Camera placement is not just about pointing a lens at a door. You have to consider the cable run back to the NVR or DVR. If you are using a PoE switch, you need to know whether the distance exceeds the 100-meter limit for Ethernet. If it does, you might need to relocate the switch, add a midspan power injector, or switch to a different topology. These are details that a good planning workflow forces you to think through early.
How a Design Tool Changes the Workflow
The idea of using software to plan CCTV layouts is not new, but the quality of available tools has improved dramatically. A modern design tool lets you import a floor plan or site survey, drop cameras onto the map, and see exactly what each camera will see. You can adjust the lens focal length and instantly see how the field of view changes. You can test different resolution settings and see how they affect the detail at a given distance. This kind of iterative testing, done on screen instead of on a ladder, saves time and money.

One of the most practical features is the ability to generate a client proposal directly from the design. Instead of sending a static PDF with a few photos, you can present a visual layout that shows coverage area, camera models, and even predicted night vision performance. Clients understand what they are paying for. They see the logic behind each camera placement. That transparency builds trust and reduces the back-and-forth that slows down projects.
The Technical Side: Resolution, Compression, and Compatibility
Resolution is one of the first things people ask about, but it is not the only factor. A 4K IP camera is useless if your NVR cannot handle the bandwidth or if the storage fills up in two days. That is where compression standards like H.265 come in. H.265 can cut the bitrate by roughly half compared to H.264 while maintaining similar image quality. If you are designing a system with twenty cameras, that difference matters. A good design tool should let you estimate storage requirements based on resolution, frame rate, and compression.
Compatibility is another layer. ONVIF is the standard that lets cameras from different manufacturers work with a common video management system. But not all ONVIF implementations are equal. I have run into cases where an ONVIF camera would stream video but would not support motion detection events over the same profile. That kind of mismatch can break a system. When you are doing a site survey and specifying equipment, you need to check that the cameras, NVR, and VMS all speak the same language. A design tool that includes device profiles can flag these issues before you place an order.
Concrete Example: Designing a Retail Store
Let me walk through a typical retail project. The store has a sales floor, a stockroom, and a small office. The client wants to cover the point-of-sale area, the entrance, and the stockroom door. They also want motion detection alerts for after-hours activity.
I start by importing the floor plan into a design tool. I place a 2MP IP camera with a 2.8mm lens at the entrance to get a wide field of view. For the point-of-sale area, I use a 5MP camera with a 4mm lens to capture enough detail to read currency and see faces. The stockroom needs a camera with good night vision because the lights are usually off. I choose a model with IR LEDs and verify in the tool that the coverage area extends to the far wall.
Then I map the cable runs. The PoE switch sits in the office. The run to the entrance camera is 45 meters, fine for Ethernet. The run to the stockroom is 85 meters, still within limit but close. I note that I should use solid-core cable for that run to minimize signal loss. The design tool lets me add these notes to the bill of materials. When I generate the client proposal, it includes a diagram showing each camera's field of view and a table listing every component, from cameras and lenses to the NVR and cables.

This is where the cctv cad approach really earns its keep. Without it, I would have to estimate distances by eye, guess at lens focal lengths, and hope the coverage worked. With it, I can show the client exactly what they will get. And if they decide they want to add a camera in the stockroom, I adjust the plan, recalculate the cable run, and update the bill of materials in minutes.
Common Pitfalls and How to Avoid Them
One mistake I see often is underestimating the importance of field of view. People pick a resolution and assume that covers everything. But a 4K camera with a narrow lens might show a detailed view of a door while missing the corridor leading to it. You need to balance resolution with field of view for each location. A design tool that lets you overlay the camera's cone of vision on the floor plan makes that balance obvious.
Another pitfall is mixing analogue cameras and IP cameras on the same system without a clear plan. If you are using a DVR for analogue cameras and an NVR for IP cameras, you end up managing two separate recording systems. That adds complexity and often forces you to use two different video management interfaces. Whenever possible, I recommend standardizing on one type. If the site already has analogue cameras, consider replacing them during the upgrade rather than bridging old and new.
The Role of Standards and Future-Proofing
ONVIF compliance is a good baseline, but it is not a guarantee. I always check the specific profiles supported by each device. Profile G covers basic streaming and recording. Profile T adds H.265 support and improved motion detection events. If you are building a system today, Profile T is worth aiming for. It ensures that your cameras and NVR can take full advantage of modern compression and analytics.
Motion detection is another feature that has evolved. Basic motion detection just triggers on pixel changes, which leads to false alarms from shadows or moving leaves. Newer cameras use smart motion detection that distinguishes between people, vehicles, and animals. When you are designing a system, you need to decide whether those analytics run on the camera (edge-based) or on the NVR (server-based). Edge-based analytics reduce bandwidth but increase camera cost. Server-based analytics centralize processing but require a more powerful NVR. A good design tool should let you note these decisions so the client proposal reflects the trade-offs.
Wrapping Up: The Practical Takeaway
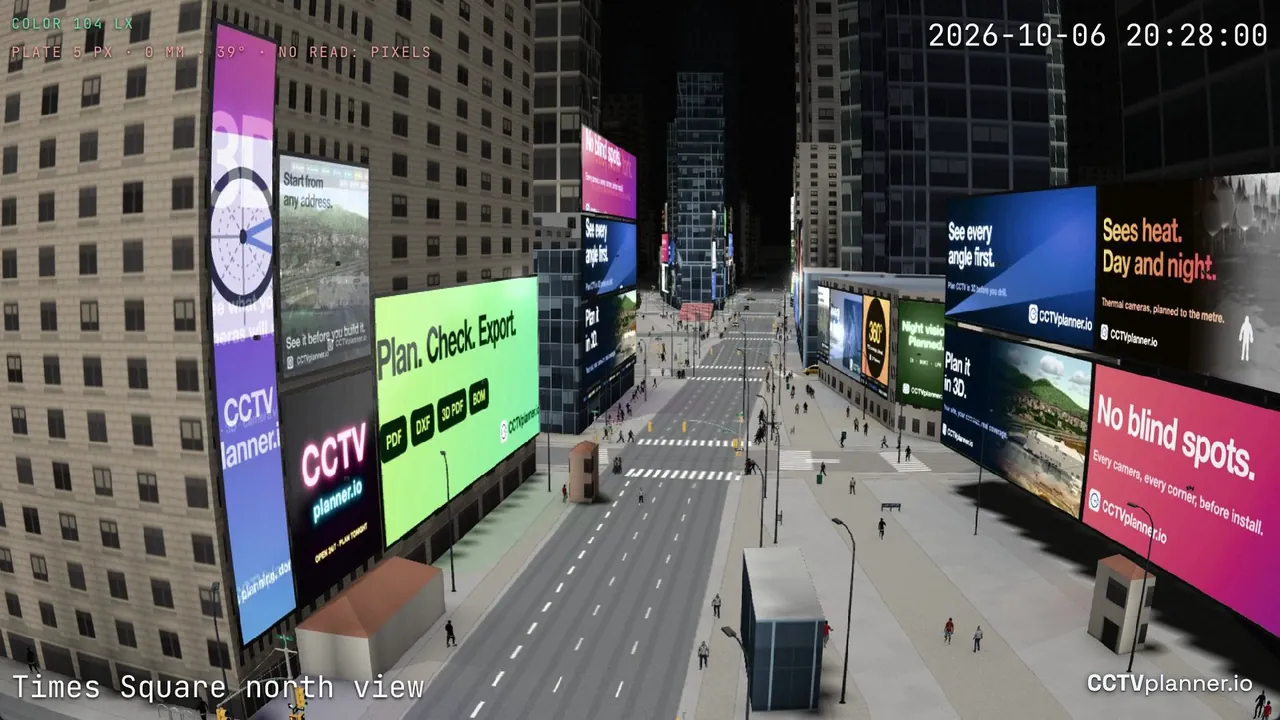
The best piece of advice I can give anyone designing a CCTV system is to plan before you buy. Use a design tool that lets you model camera placement, field of view, cable run, and storage. Whether you call it cctv cad or just good planning, the principle is the same: test your assumptions on screen rather than on site. It saves time, reduces errors, and produces a system that actually works the way you intended.
If you are new to this, start with a simple site survey. Measure the dimensions of each room, note the lighting conditions, and identify the key areas you need to cover. Then use a tool that supports the kind of iterative design I have described. You will be surprised how much difference a few hours of planning can make. And when you present a client proposal that includes coverage diagrams, a bill of materials, and a clear explanation of why each camera is where it is, you will look like the professional you are.